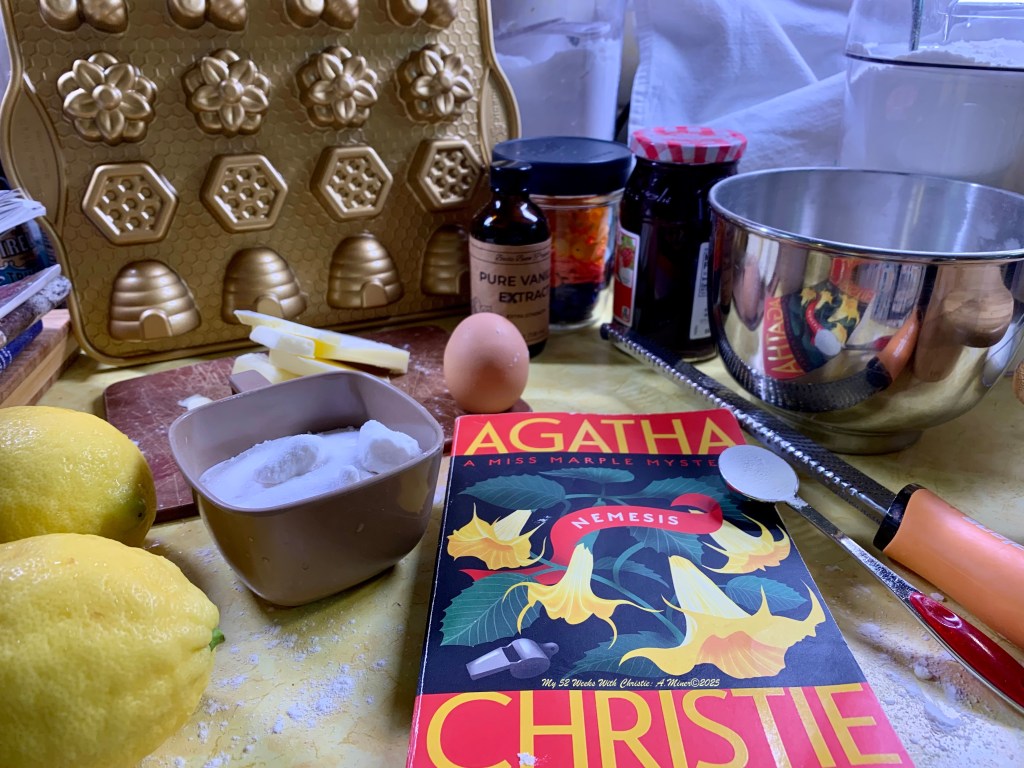
I’d two opening photos for the raspberry & lemon cakes I liked, and this is the other one!
I’d two opening photos for the raspberry & lemon cakes I liked, and this is the other one!

Inspiration: Did you learn this riddle as a kid — How do you eat a bear? One bite at a time. It’s intended to illustrate how to overcome an overwhelming task. It’s also how my mother-in-law ate an entire gooey butter cake in one sitting whilst gabbing away with her fellow family members one evening. What’s even funnier? No one, including her, noticed the cake slowly shrinking until after she demolished the entire sucker. After listening to this story get retold for years at every holiday gathering, I decided to make her one as both a joke and in her honor.
Unfortunately, I fell at the first hurdle.
In a fit of spring cleaning, my mother-in-law threw out all her handwritten family recipe books and cards, believing they all could be found online. (I nearly cried when she told me this. All that knowledge lost!) Meaning she no longer had a copy of her mother’s original recipe.
And this was about eight(ish) years back — before yeasted cakes became all the rage. Making it challenging to find a recipe that didn’t start from a boxed cake mix (which I can’t eat due to allergies), and even those shortcut ones were few and far between.
So I made her lemon bars instead.
Then, about a year later, Bake From Scratch magazine printed a scratch-made recipe for St. Louis Gooey Butter Cake! To say I was over the moon is an understatement, and so was she when I presented her with it.
Even better? The whole family finally got to taste this legendary/infamous cake and fall in love with it.
Helpful Hints From Me To You: This cake can take upwards of 6-7 hours to make. However, you can shave this down to 3(ish) with a little bit of easy prep.
Although the time sink is considerable for this cake — 2 hours of it is simply letting the first layer rise, and 30 minutes of baking. So this cake isn’t quite as daunting as it sounds. Moreover, you don’t frost it — you simply sprinkle it with powdered sugar, and maybe some edible glitter, then you’re done.
The gentle unevenness of the gooey butter cake’s top is its hallmark, i.e, something to be highlighted, not covered up.
Christie’s Canon of Characters: I can totally envision Tuppence making this cake, should it have migrated from around the St. Louis area to England between 1922 and 1973.
Because you can get so many other things accomplished whilst making this dessert: a couple of loads of laundry washed, dried, and folded; dishes washed and counters cleaned; beds made; pick up the house; even a bit of vacuuming. All things that need doing, but can be challenging to accomplish when baking sweets. All you need to do is keep an eye on the clock and timers wound!
It’s a fantastic multitasker cake.
Especially when you need to bake something for a fete or bake sale, but your three kids need clean britches!
My 52 Weeks With Christie: A.Miner©2025

Inspiration: This last holiday season, my hubby and I were tootling about and ran across a homespun holiday market. Whilst there, I found something called a scrubby. After purchasing a pack of three, I started inspecting it as we continued our Sunday drive….and quickly discovered I’d more than enough skill to crochet my own.
Even better? The yarn used is affordable, so I could gift them to everyone on my list without breaking the bank.
Using strands from both the Scrubby yarn and Scrubby Sparkle yarn, I set to work — after watching this video, to refresh my memory on how to create a magic circle, I set to work.

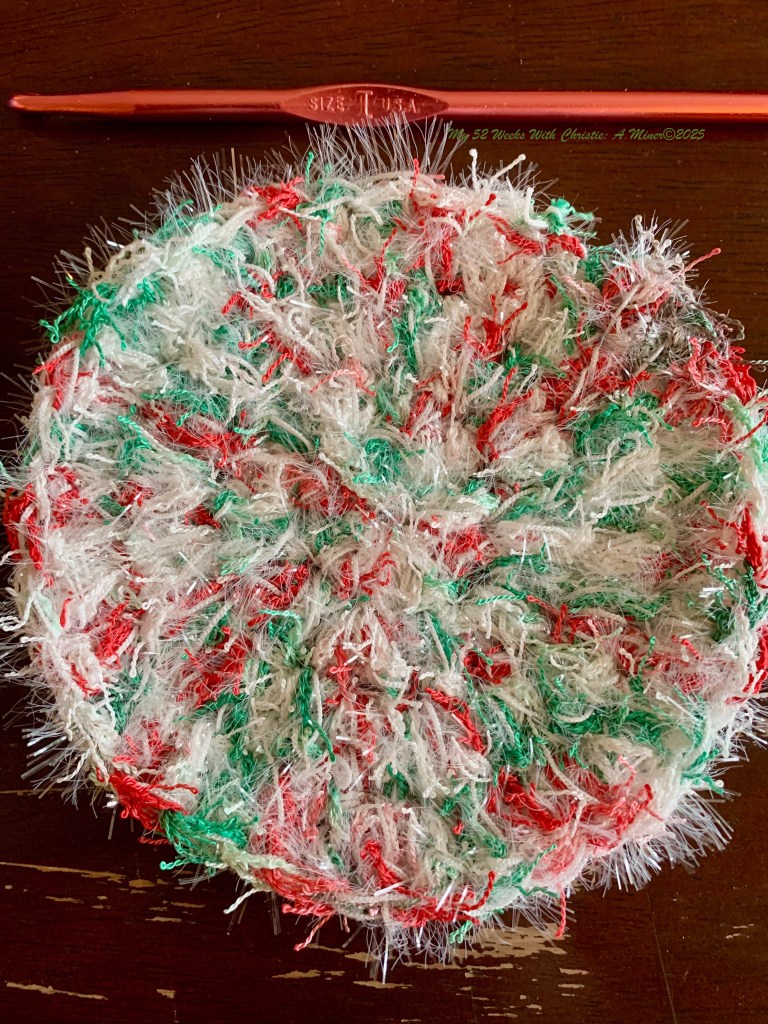
The initial magic circle is ten stitches. Then, using single crochet, I increased on every stitch. So by the time I hit the place holder, where I’d joined the magic circle together, there were now twenty stitches total. In the third row, I increased on every stitch again for a total of forty by the time I reached the safety pin again. Finally, in the last row, I just went once around without increasing, keeping the stitch total at forty.
Then, I tied off the yarn, and bam! I had a scrubby!
The upside to this particular craft is that once you find your rhythm, you can knock out a whole bunch quickly.


Helpful Hint: I discovered that, for about every one Scrubby Sparkle yarn ball used, I used two of the Scrubby ones.
Christie: OBVIOUSLY, I believe Miss Marple would enjoy crocheting scrubbies. They are simple, affordable, and practical — all attributes I think she would appreciate. Plus, one needs to take a break every now and again from crocheting kid’s clothes, jumpers, and blankets.
(FYI: This post, like all the ones I do, are not sponsored — just something I enjoy making.)
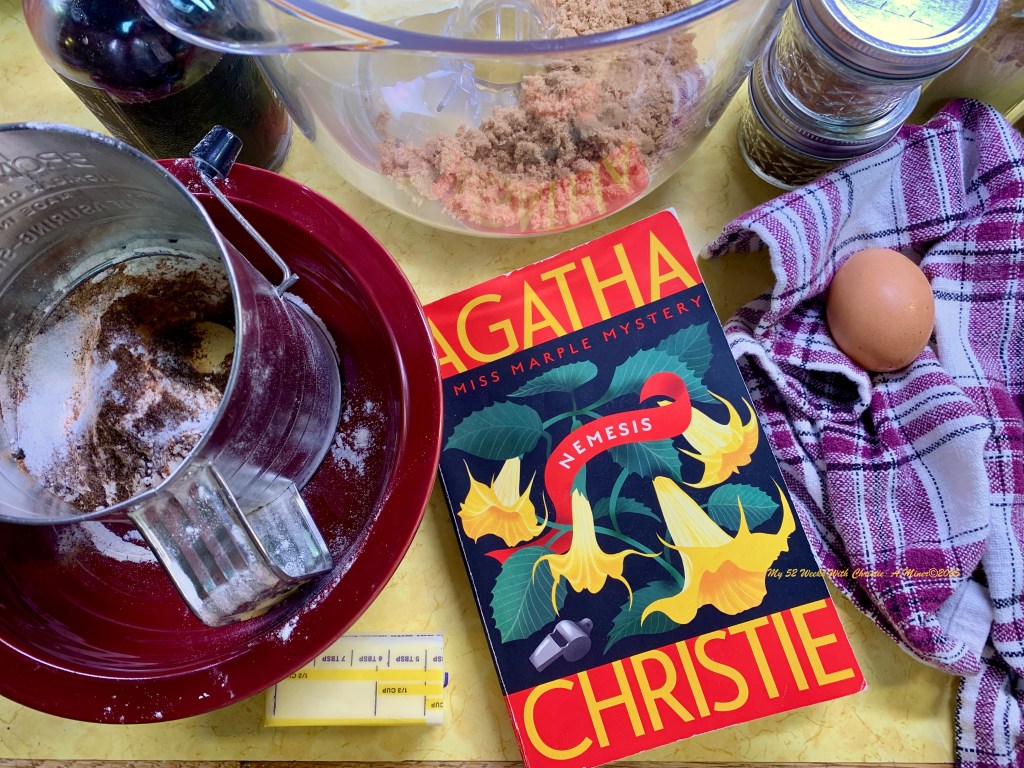
Not sure what I was making here….though since it’s got a lot a spices maybe a form of ginger bread?


You must be logged in to post a comment.